💧 Cool your system, elevate your game!
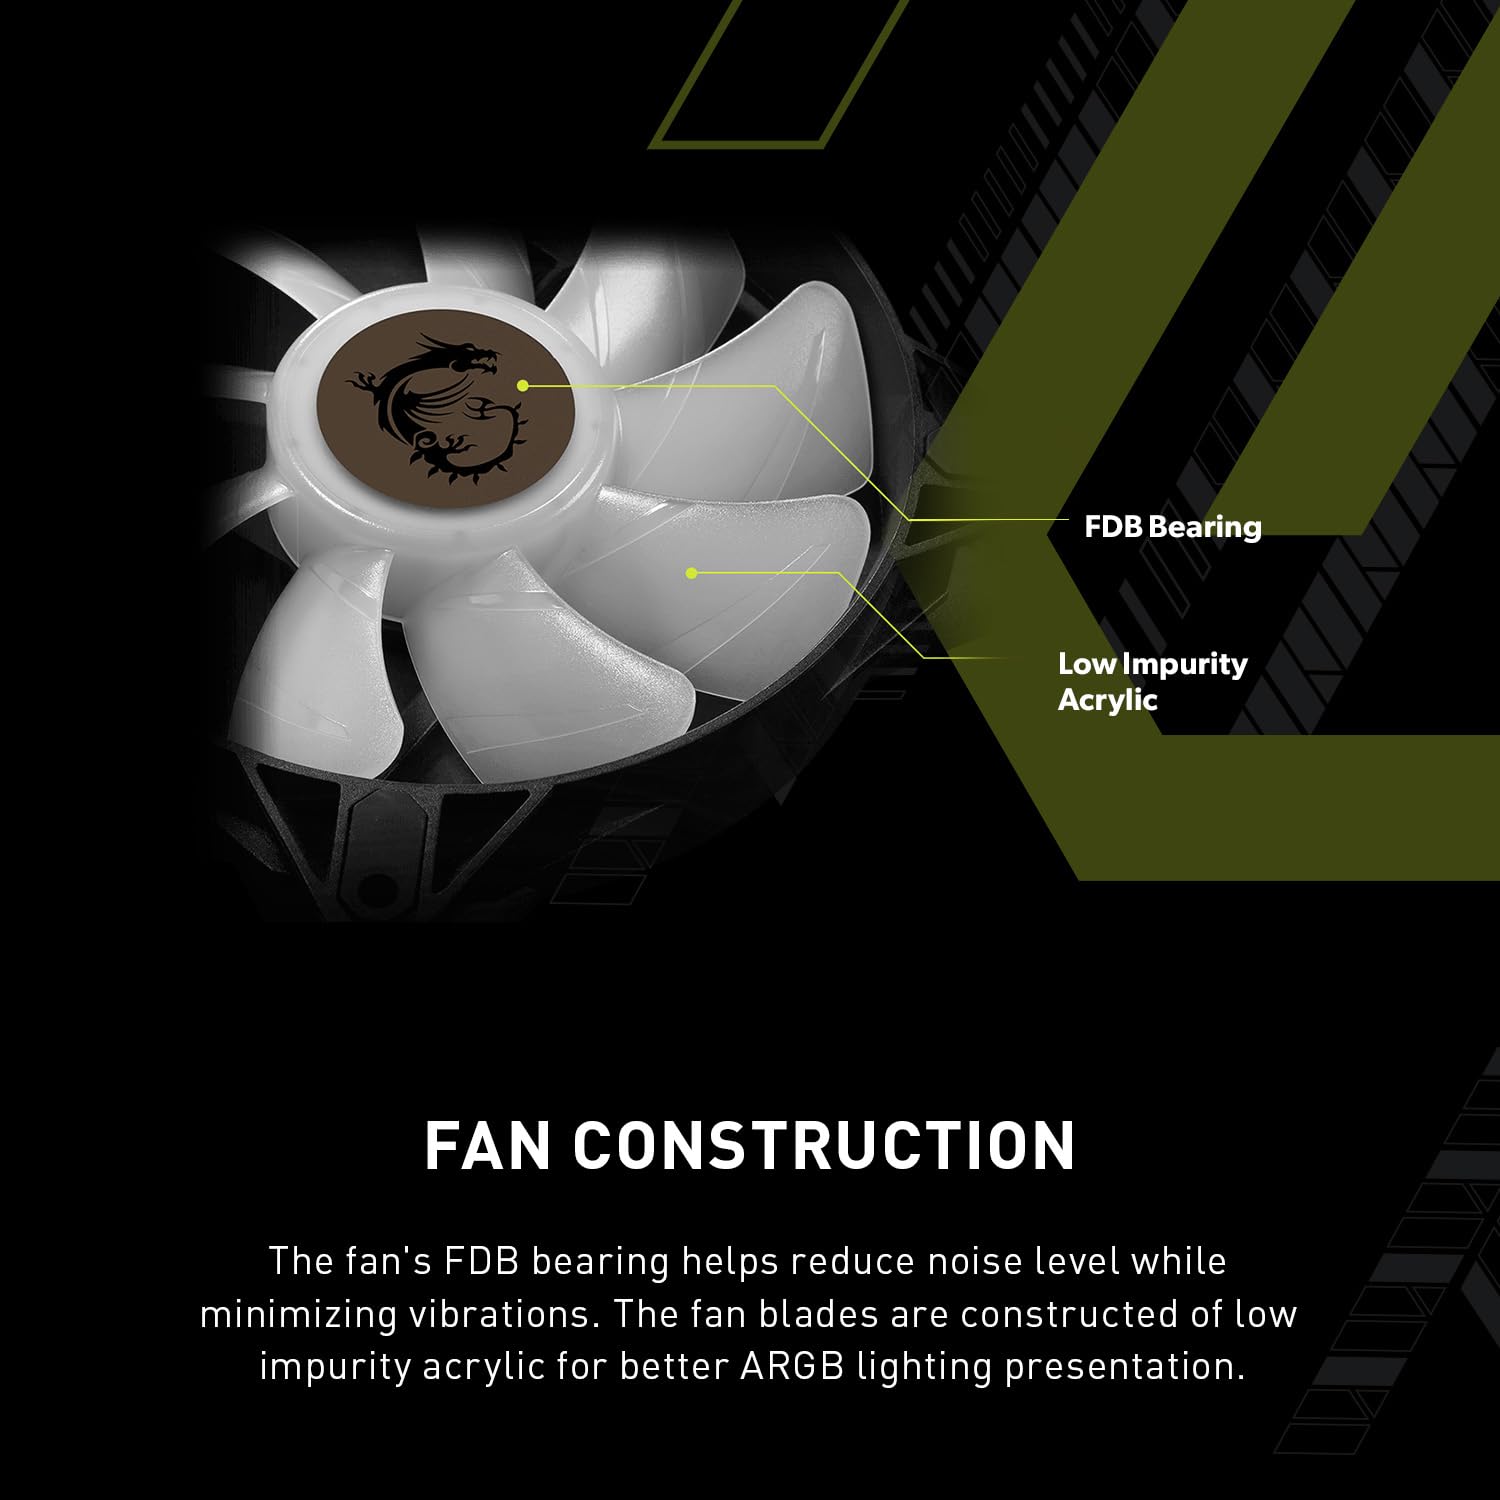
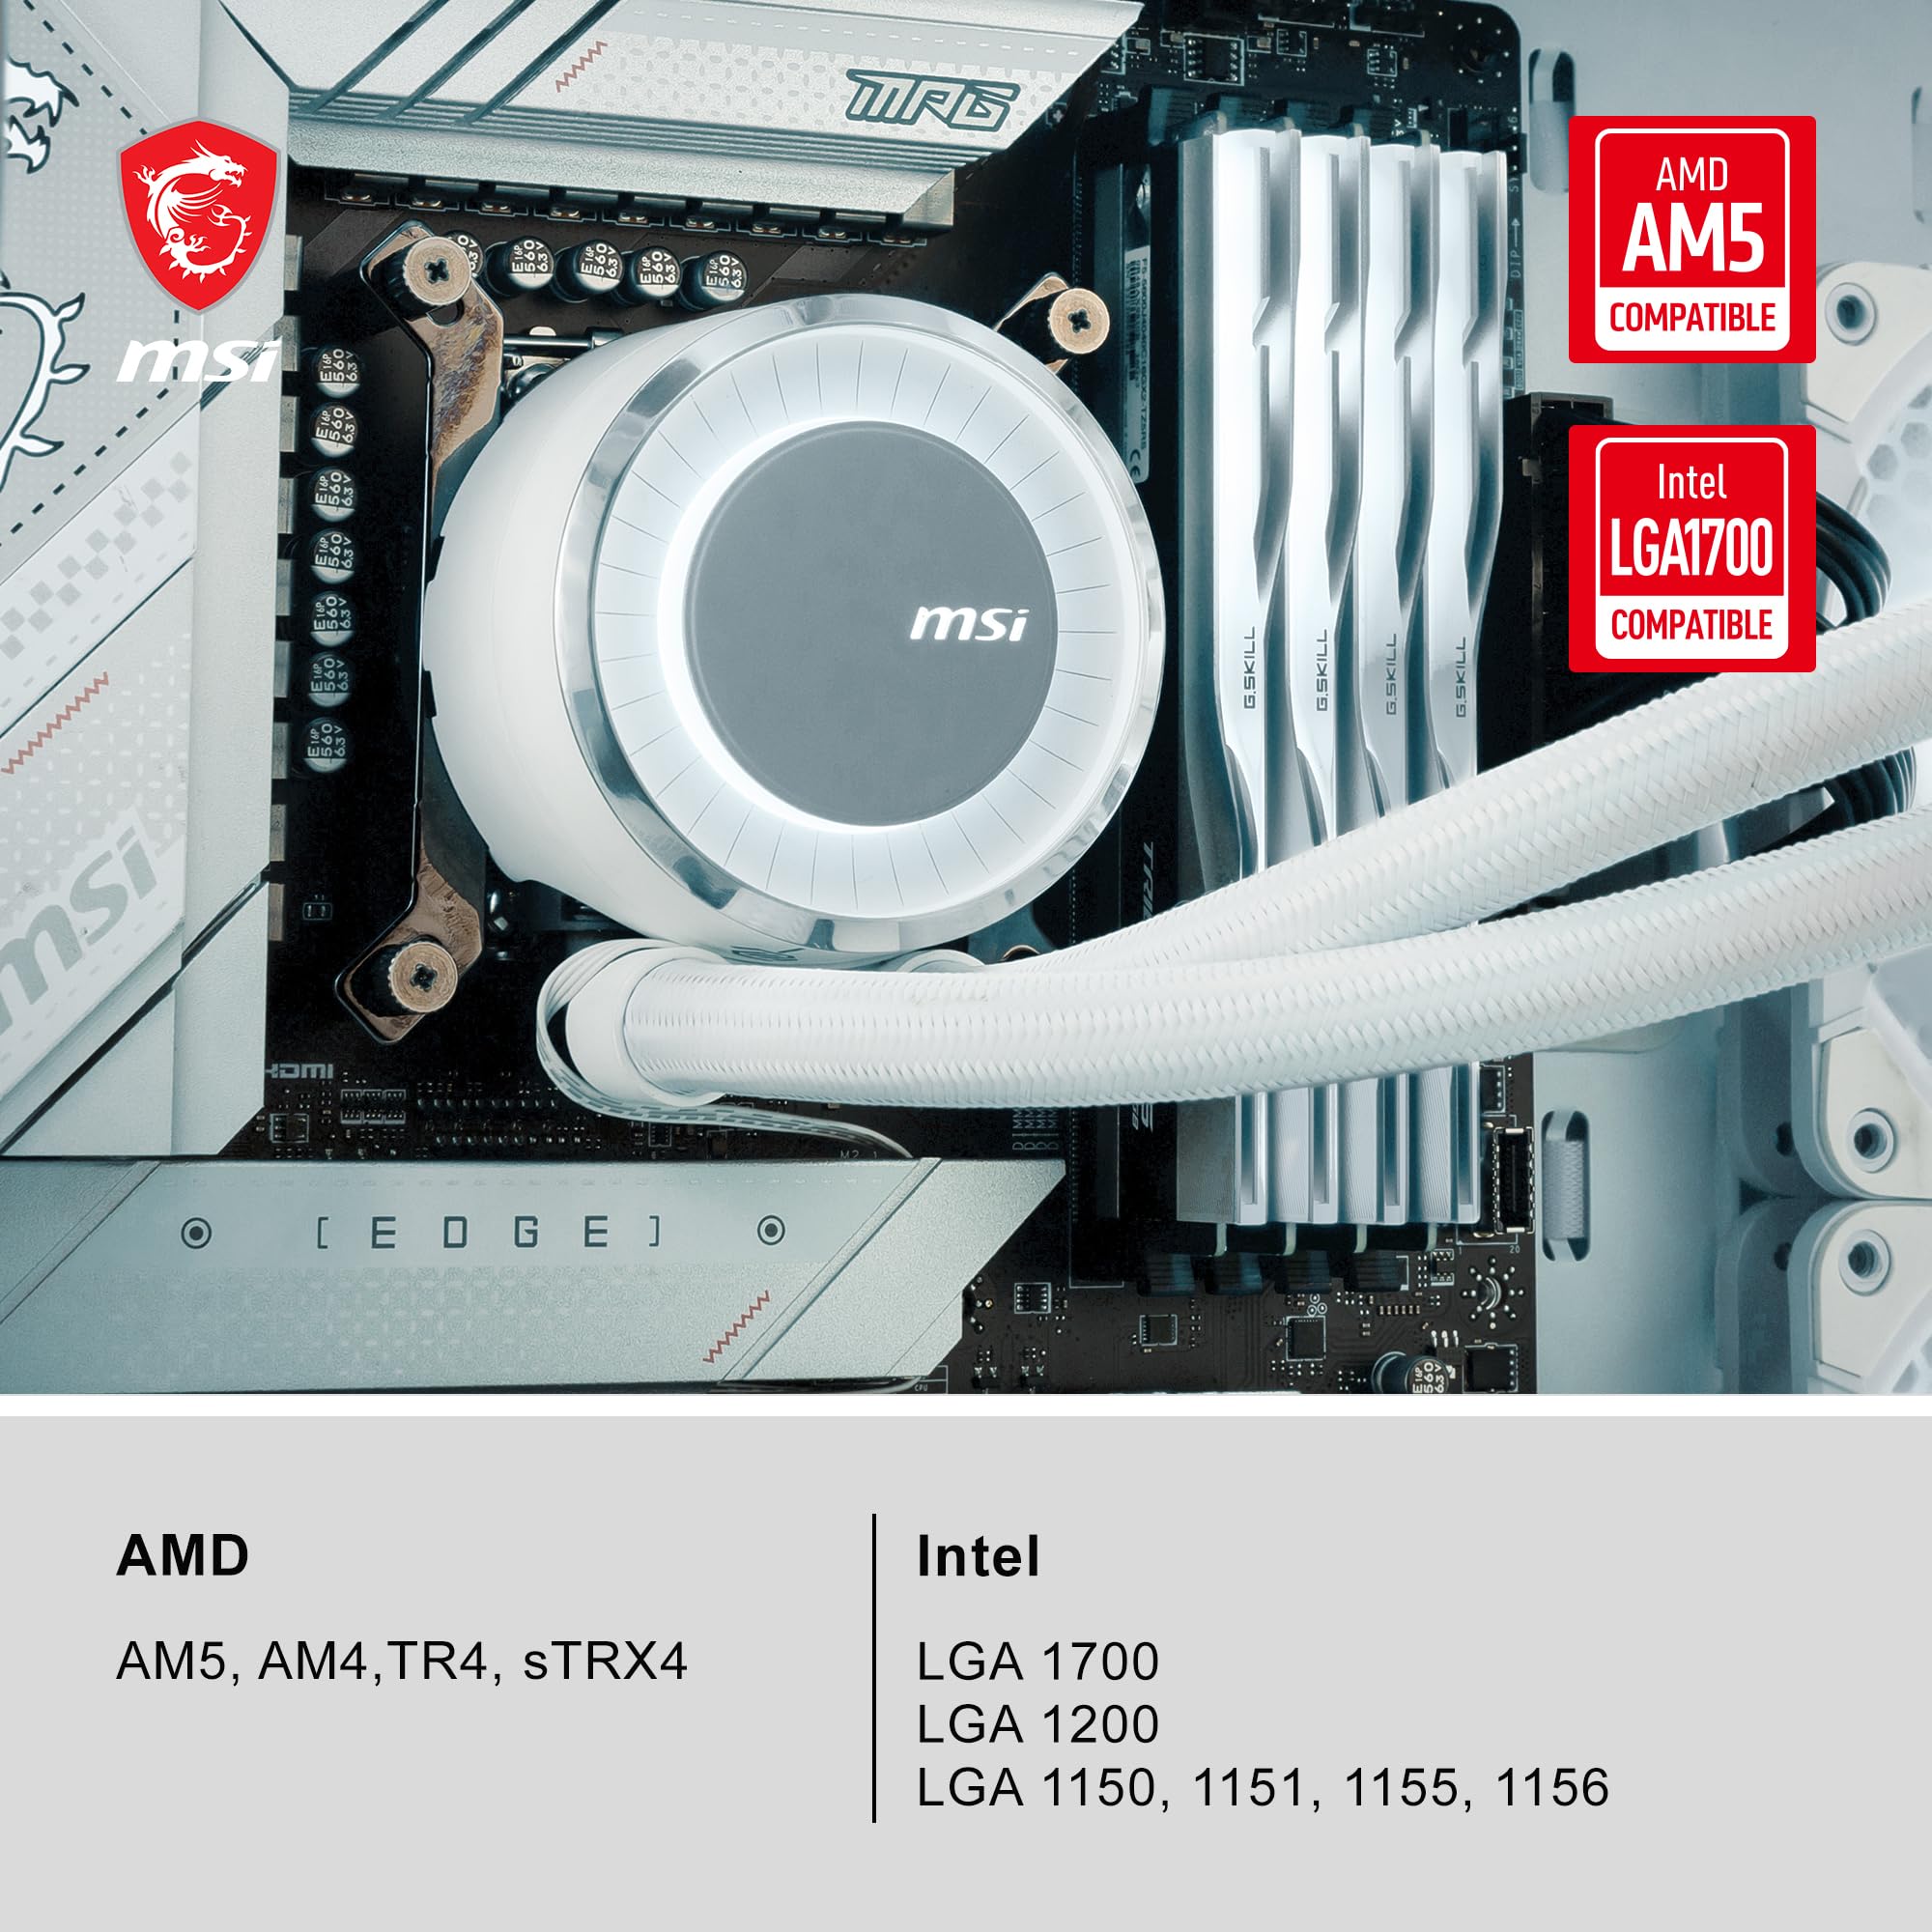
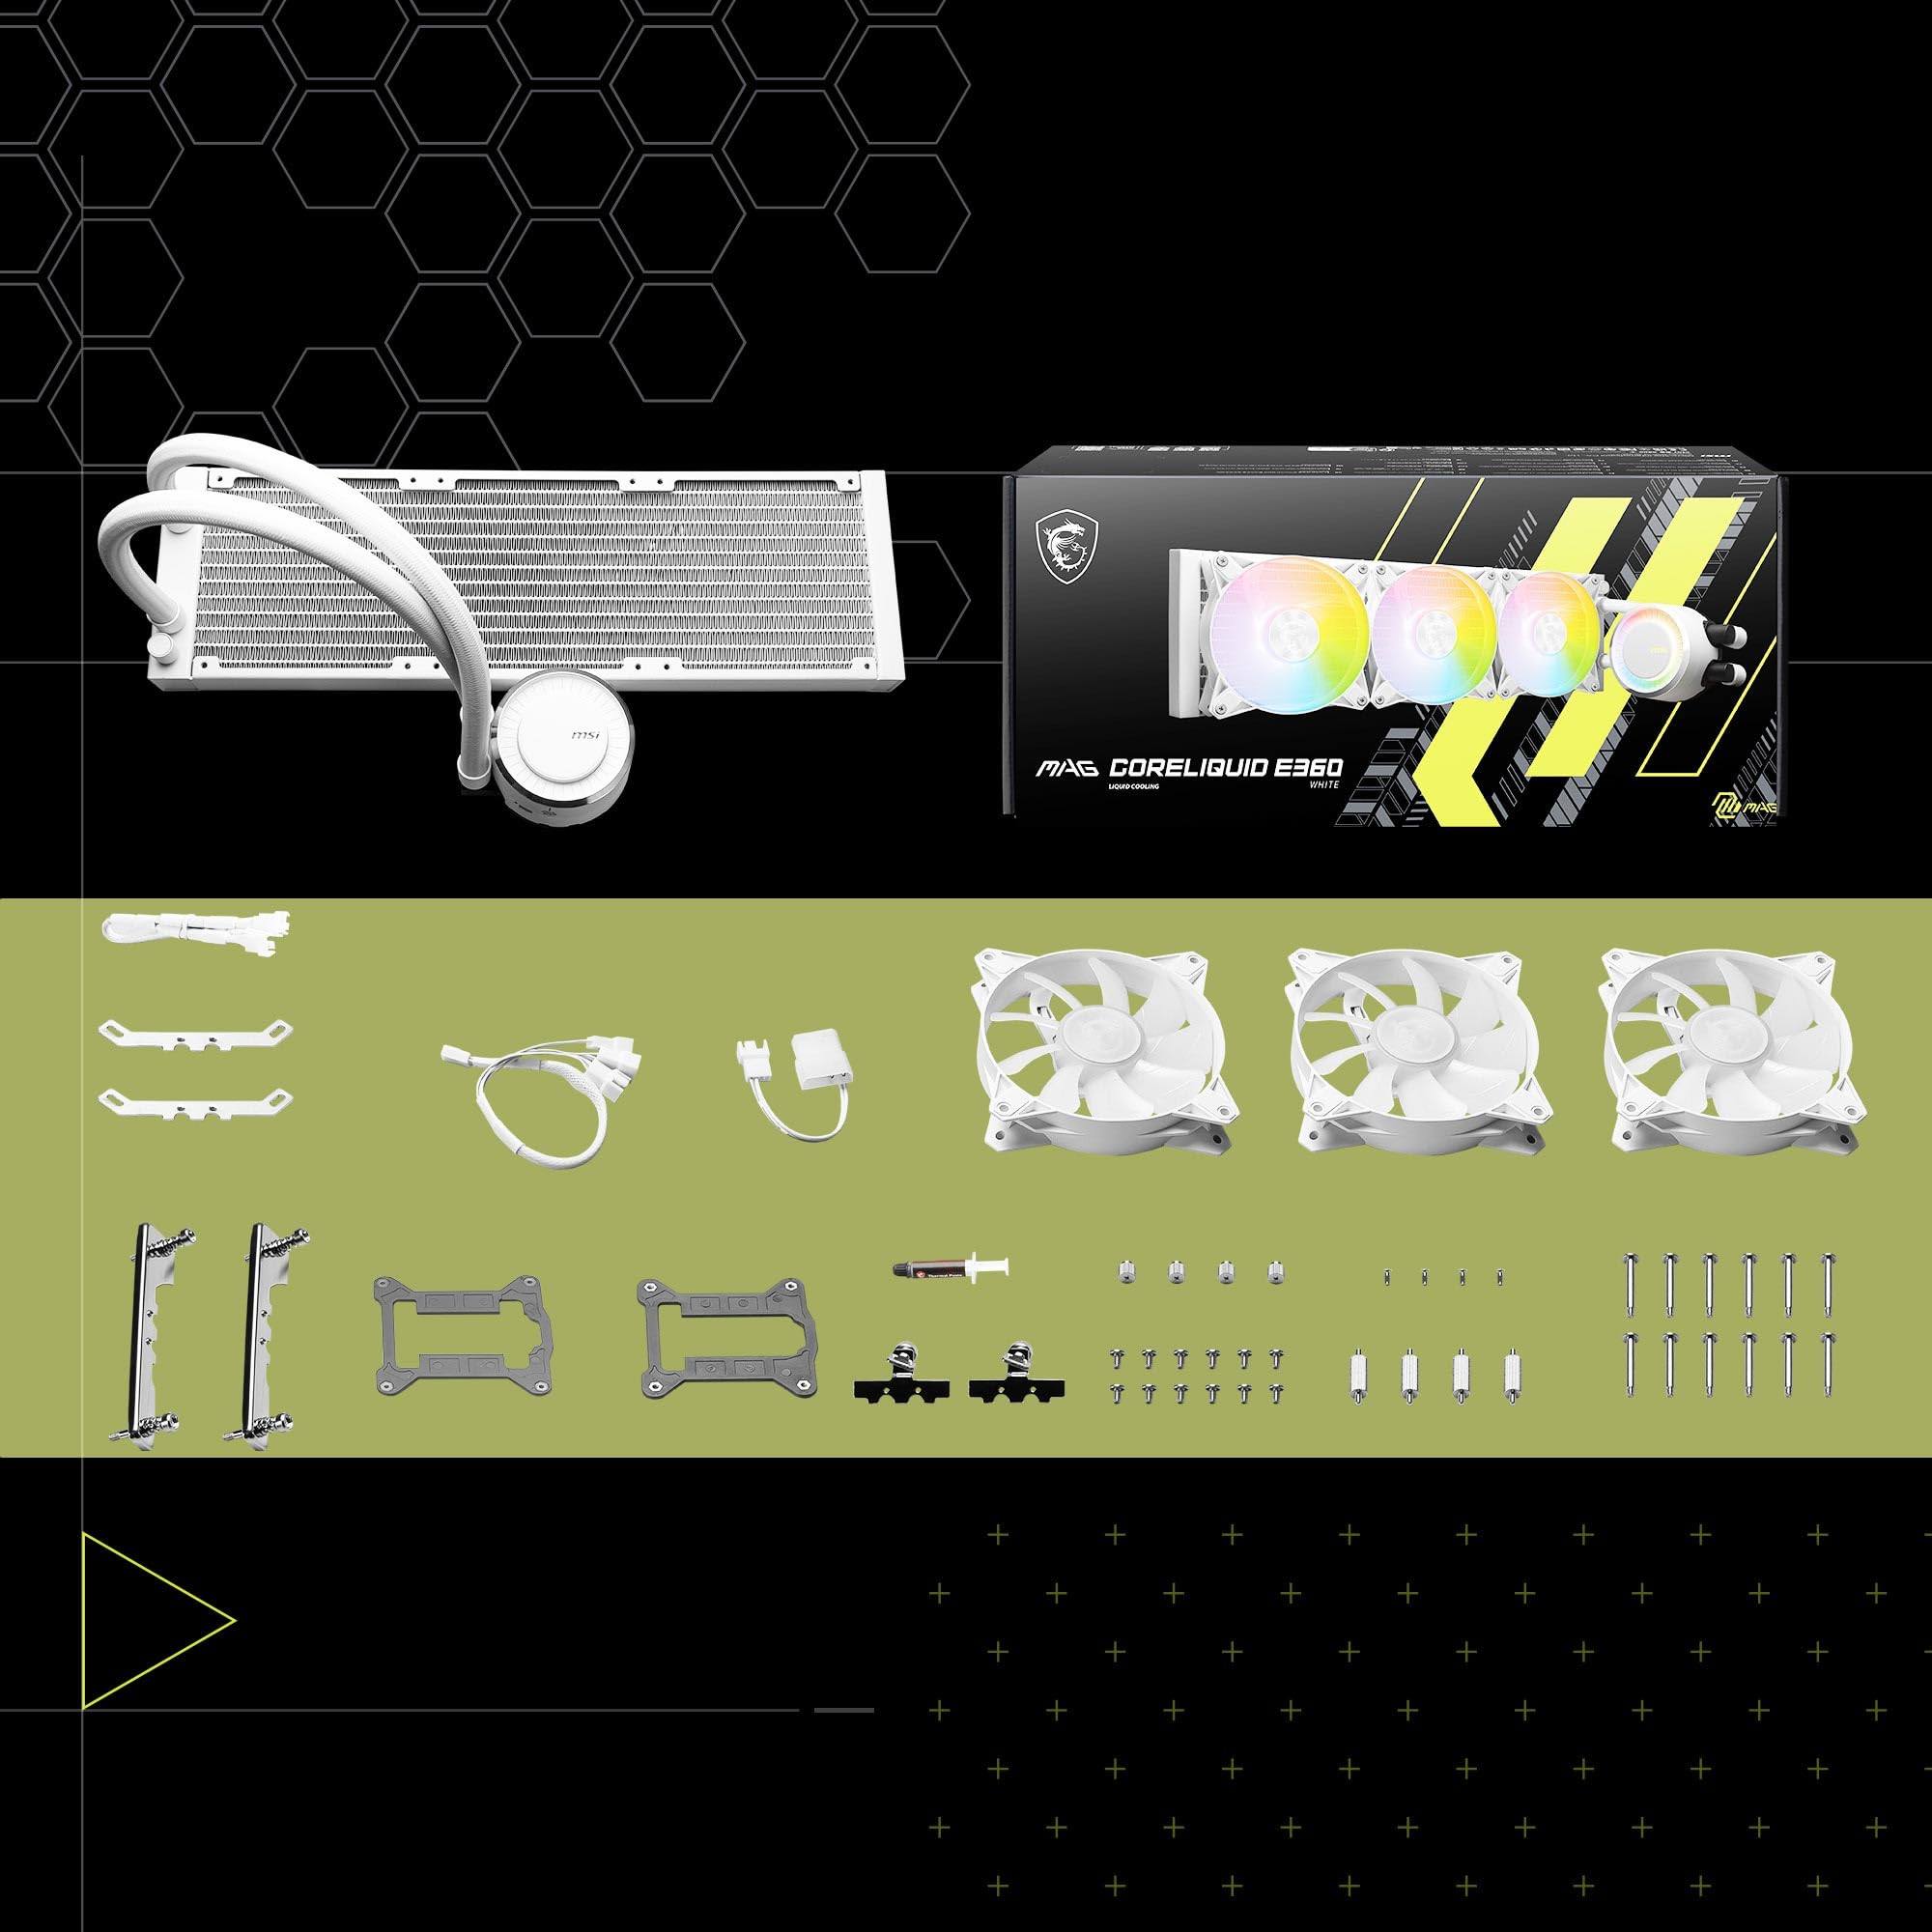
The msiMAG CoreLiquid E360 White is a high-performance AIO ARGB CPU liquid cooler featuring a 360mm radiator and triple 120mm ARGB PWM fans. Designed for longevity with a motor ceramic bearing rated for 100,000 hours, it offers customizable fan speeds and lighting through software. Its integrated pump design ensures quiet operation, while compatibility with a wide range of Intel and AMD sockets makes it a versatile choice for any build.


Y**
This is the best Liquid Cooler AIO I ever had!
Setting this AIO Liquid Cooler was straight forward. This is one of the parts I used to build my new PC. Glad I choose this since it keeps my Intel Core i9 13900K CPU at a good temperature while I play videogames or work. I have a small PC case the only area I can place it is on the front cover, it fits perfectly. I got it on sale and it was worth the price. Controlling the fan speed is easy, you can do it on the MSI center app or in the BIOS. It's compatible with my PC case, motherboard and CPU.
T**M
A Top-Tier Cooling Solution
The MSI MEG CORELIQUID S360 is an very good liquid cooler. From installation to performance, this AIO cooler delivers excellence at every stage.Mounting the unit was a wasy, making the setup process hassle-free. The LCD display is another standout feature—customizing it is intuitive and adds a personal touch to the build. Paired with my Ryzen 7800X3D, CPU temperatures remain consistently low, ensuring optimal performance during intense workloads and gaming sessions.Overall, MSI has nailed it with the MEG CORELIQUID S360. It’s reliable, visually striking, and highly effective. If you’re looking for a high-end liquid cooler, this one is hard to beat.
Y**I
Amazing value and good fit
Value for money, works great and good fit. Included cables make it easier to install with a single fan and ARGB connector.
J**T
Seems Okay
I am using this with a Ryzen 9 7900X3D. With ambient temps around 22-27C, the case stays around 33-34C. With light activity it goes to around 38-42. The CPU hits 60-70, but for a gaming sessions of a few hours with Hogwarts Legacy or Starfield the temps were mostly in the 50s. I don't have a good base line, as I never tried my CPU air cooledNoise wise, it's not loud. Installation wasn't bad, but I wish the radiator hose was just a little longer, as I couldn't vertically mount it.The software installation is a mess - and you can find issues all over the net. What I found, is that if you get the message "blah blah is abnormal" and it wants you to restart (which won't do anything). The issue was that the on-board graphics was enabled, but I was using my Nvidia GPU... You can investigate this a bit by opening a terminal, going to the MSI Center folder and launching the apps manually. For me, it quickly pops up a failure message with a call stack pointing to "VGA" initialization ... Fiddling with starting/stopping services as mentioned elsewhere was not the issue.The fix for getting MSI Center to work was to enter BIOS and disable the onboard graphics.This is my first AIO/watercooling build, and I can say it's great. Much quieter than my prior systems, but I suspect alot of that is improvements in the chip designs (smaller fab , lower heat, more bursting ). I let the system burn in with the usual tools: prime95, cinebench, furmark, 3DMark Adia etc.... (sometimes concurrently) - and was able to force the CPU to hit it's default thermal limit (70C), but with PBO at 80C I was not able to hit 80C without overclocking the cores. The temps maxed around 74C on the hottest cores. So, I suppose it's doing alright. Newegg buyers have reported it failed within a year .... let's hope that is not the case!
C**H
Good, but still not enough to keep an i9-12900K below 100C
The cooler came with the LGA1700 bracket required. Some reviews say it doesn't, but it certainly does. The fans are not mounted and there's no cable management. They chain together in a not very elegant way and you get to hide all the extra cable. They could have included a fan controller to bring the fans to a single point, or even just used a better way to chain them together so there wasn't a load of spare wire to bundle up and hide. One review said that the pump cable didn't fit. Err, dude, the pump needs to be controlled separately. My motherboard has a specific pump connection, as well as a cooler fan connection, so pump cable to pump connection, fan cable to CPU fan connection. Mounting to the board is easier than older cooler mountings, just follow the instructions properly. Take care to tighten down the cooler according to instructions. The consumer Intel sockets already have issues with flatness and it is important to get the cooler mounted evenly so that all the cores get good cooling. If you get the cooler on unevenly you can get one core heating up before the others and limiting the performance. I am not sure if the i9 throttles by core, or across the board. I only hit 100C briefly and then turned down the load.Radiator Installation: Check your case. I am using a ThermalTake Core V71, see my review of that if you want details of the issues I have with it. The length of the cooling pipes defines where the radiator can be mounted. In the V71 the front mounting made most sense to me, because it allowed the use of the single optical drive slot, but the pipes aren't long enough to reach. When fitted in the top of the case the radiator fouls the optical drive. So I moved the optical drive up to the top of the case where it occludes about 10% of the radiator, but the system can be assembled. That also requires the radiator to be mounted with the pipes to the left, which means the pipes then press against the graphics card. This is not a problem with the cooler, it's just a problem of using the cooler in this case.Cooler performance is not quite enough with my case and fans. The combination of airflow and cooler combines to define cooling capacity. I was down-converting 11,000 FLAC audio files to m4a using a parallel converter. With the 8 performance cores of my i9-12900K running the task I was getting core temperatures a little over 80C. When I added in four of the lower power cores by setting the parallel conversions to 12 I got low 90s. At 14 parallel conversions I hit 100C on one core. So I backed off to 12 again. I used EZ CD Audio Converter, which is payware. Anyway, the i9 is doing a heck of a lot of work, it completed converting 264GB of FLAC files to 48GB of m4a files in 28 minutes. But this cooler won't support running the i9-12900K flat out in a 70F air conditioned room. I am not overclocking, I'm only running my 6GHz DDR5 at 4.8GHz at this time, so I am not even running full speed. I don't want to turn up memory performance until I am happy with the rest of the system.This is good enough for me at this time. The program I usually use on this machine, the reason I needed the upgrade, is X-Plane 11, which runs the GPU at 85% but only needs 1 or 2 cores on the processor.
M**.
Just What I Wanted!
I recently built my first PC — it was actually a Christmas gift for my spouse, and the MAG Coreliquid E360 actually ended up being both mine and my spouse’s favorite component aesthetically. It was also my favorite to install, as it was simple. There’s even a YouTube video I found that took me through it step by step and reassured me just how easy putting it together is. I was also incredibly happy with how quiet it is! I’ve had a few PCs and laptops with loud fans and cooling systems, and it can get a little distracting when working or gaming on something loud, so this being so quiet really sold me on MSI products. Using Mystic Light with it was really easy too, and made for a beautiful RGB display! It’s gone way above my expectations, and I would highly recommend it for a build.
Trustpilot
2 weeks ago
5 days ago